
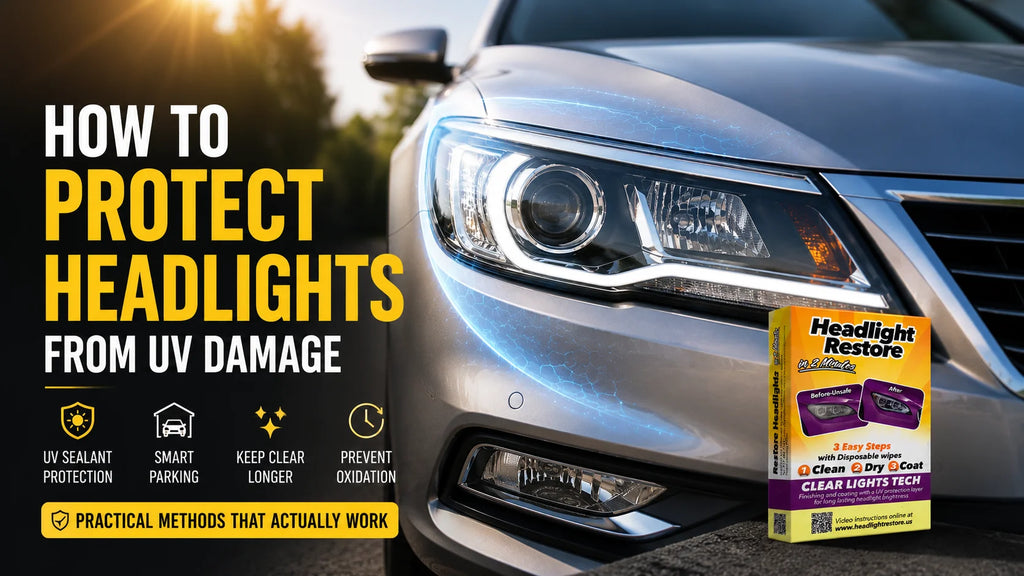
How to Protect Headlights from UV Damage — Practical Guide
Most people only think about their headlights after they've already turned yellow. By that point, restoration is the answer — and it works well. But there's a more useful question to ask before that happens: what can you actually do to slow the yellowing down, or delay it significantly?
Protecting headlights from UV damage isn't complicated once you understand what you're protecting against. The yellowing is caused by UV radiation breaking down the outer hardcoat on polycarbonate lenses — a process that begins the day a car is first parked outdoors and continues as long as the lens is exposed to sunlight. Every protection method is essentially a strategy for limiting that exposure or reinforcing the coating before it fully degrades.
This article covers every practical method — from the simplest habit changes to longer-term solutions — and explains what each one actually does and how long it holds up.
Protection Methods at a Glance
Here's a quick overview of every headlight protection method covered in this article — so you can scan and jump to whatever fits your situation:
| Protection Method | Cost | Effort | How Long It Lasts |
| UV sealant coat (3-step kit) ★ RECOMMENDED | Low (kit) | 2 min | 3–6 months |
| Garage / shade parking | Free | Habit change | Ongoing |
| Paint protection film | $$–$$$ | Professional | Years |
| Ceramic coating | $$–$$$ | Professional | 1–3 years |
| Car wax on lens | Very low | 10–15 min | 2–4 weeks |
| Do nothing | Free | None | Oxidation in 2–5 yrs |
★ UV sealant coat is the most practical and cost-effective choice for most drivers — and the fastest way to add meaningful UV protection in minutes.

Why UV Protection Matters More Than Most Drivers Realise
The hardcoat on a new polycarbonate headlight is thin — a few microns at most. It's doing an important job: absorbing UV radiation before it reaches the polycarbonate underneath. But it degrades under the same UV load it's trying to block, and once it's worn through, the polycarbonate starts oxidizing with no barrier between it and the sun.
This is why yellowing accelerates over time. In the early years, the hardcoat provides meaningful protection. As it degrades, more UV reaches the polycarbonate directly, and oxidation speeds up. By the time yellowing is clearly visible, the hardcoat is largely gone and the process is running at full pace.
Protection strategies work by either reinforcing the hardcoat before it fully degrades, or by limiting how much UV reaches the lens in the first place. Both approaches slow the timeline significantly — and used together, they can keep headlights clear for considerably longer than the typical two-to-five-year first-yellowing window.
For a detailed explanation of how UV radiation breaks down the headlight hardcoat over time, our article on why headlights turn yellow covers the full mechanism.
Method 1 — UV Sealant Coat (Most Effective, Easiest to Apply)
The most practical and consistently effective protection method is applying a UV-blocking sealant directly to the headlight lens — ideally before significant yellowing begins, and always as the final step of a restoration.
In a 3-step restoration kit, this is wipe three — and it's always applied as the final step of the full process, never on its own. On a lens that's still clear, wipes one and two take only seconds: they clean and prepare the surface so the sealant can bond to it. The sealant then forms a new protective layer over the existing hardcoat, reinforcing it and adding a UV-blocking barrier that slows the degradation process.
UV Protective Sealant Coat
- Applied in under two minutes per headlight as the final step of the three-step process
- Adds a UV-blocking layer on top of the existing hardcoat
- Works on clear lenses as prevention and on oxidized lenses as the sealing step of restoration
- Slows the oxidation timeline significantly compared to unprotected lenses
- Holds for roughly three to six months — when it wears, repeat the full three-step process
Best for: Any driver who wants to delay yellowing on clear lenses, or keep restored headlights protected over time.
One thing worth noting: the sealant is never applied on its own. Whether the lens is clear or already showing early haze, the process is the same three steps in order — the only difference is how much work the removal wipe has to do. On a clear lens it's a quick pass; on a hazy one it's doing real oxidation removal. Either way, the sealant needs the freshly cleaned and prepared surface that wipes one and two leave behind.
For a full breakdown of how long the UV sealant coat lasts and what factors affect its durability, see our guide on how long headlight restoration lasts.
Method 2 — Parking Habits (Free, Immediately Effective)
UV exposure is cumulative. Every hour a vehicle sits in direct sunlight is another hour of UV load on the headlight hardcoat. Over the lifetime of a car, parking habits make a significant difference to how quickly that hardcoat degrades.
Shade and Garage Parking
- Garage parking is the most effective single habit for slowing UV degradation
- Even partial shade — parking under trees, next to buildings, or in a covered car park — meaningfully reduces daily UV load
- Completely free and requires no products or maintenance
- Combined with a UV sealant coat, the protective effect is additive
- Particularly impactful in hot, sunny, or high-altitude climates where UV intensity is greater
Best for: Every driver — the simplest and most cost-effective long-term protection habit.
The compounding effect of parking habits is often underestimated. A car that spends eight hours a day in direct sun is receiving many times more UV load than one parked in a garage or shade. Over five years, that difference can be the deciding factor between headlights that are just starting to haze and ones that are visibly yellow.

Method 3 — Car Wax on Headlight Lenses (Short-Term, Low Cost)
A layer of quality car wax applied to headlight lenses provides a temporary barrier against UV radiation. Wax contains UV absorbers that offer modest protection — more than an unprotected lens, less than a dedicated UV sealant coat.
Car Wax Applied to Lens Surface
- Provides a thin UV-absorbing barrier over the headlight lens
- Applied in the same session as the rest of the car's wax treatment — no extra time required
- Lasts two to four weeks before needing reapplication as it breaks down with washing
- Best as a supplementary measure alongside a UV sealant, not a standalone solution
- Do not use abrasive polishing waxes — use a pure protective wax only
Best for: Drivers who already wax their cars regularly and want easy supplementary headlight protection.
Wax is a useful addition to a protection routine but should not be the primary UV defence. Its short lifespan and relatively modest UV-blocking capability mean it works best as a complement to a dedicated sealant coat rather than a replacement for one.
Method 4 — Paint Protection Film (Long-Term, Professional)
Paint protection film (PPF), sometimes called clear bra, is a thin urethane film professionally applied to headlight lenses. It provides a durable, transparent physical barrier between the polycarbonate surface and UV radiation, road debris, and environmental contamination.
Paint Protection Film (PPF)
- Provides strong physical UV barrier that lasts several years
- Also protects against stone chips, road debris, and surface scratching
- Professionally applied — requires booking and fitting time
- More expensive than sealant-based methods
- Must be applied to a clean, restored lens — PPF over yellowed headlights will trap the oxidation underneath
Best for: Drivers who want long-term hands-off protection and are willing to invest in professional fitting.
PPF is genuinely effective for long-term headlight protection, but it is most cost-efficient when applied to headlights that are already clear and recently restored. Applying PPF over existing oxidation seals the discolouration underneath rather than fixing it.
Method 5 — Ceramic Coating (Durable, Semi-Professional)
Ceramic coatings have become increasingly accessible as both professional-applied products and DIY-friendly kits. Applied to headlight lenses, a ceramic coating forms a hardened, UV-resistant layer that bonds to the polycarbonate surface and provides durable protection for one to three years depending on the formulation and conditions.
Ceramic Coating
- Bonds chemically to the polycarbonate surface for longer-lasting protection than wax or standard sealants
- Strong UV resistance that holds up well in high-exposure climates
- Professional application produces the best results, though DIY-friendly options exist
- Higher upfront cost than sealant-based approaches
- Like PPF, works best when applied to already-clear and freshly restored lenses
Best for: Drivers who want durability beyond what a standard UV sealant provides and don't mind a higher upfront cost.
The best time to protect headlights from UV damage is before they start to yellow. The second best time is immediately after restoring them. Either way, the UV sealant coat is what makes the difference.
What Does Not Actually Protect Against UV Damage
A few things that are commonly applied to headlights but offer little or no UV protection:
- Regular glass cleaner or headlight cleaning sprays — these clean the surface but provide no UV barrier whatsoever
- Petroleum-based products like WD-40 — temporary optical improvement but zero UV protection, and they evaporate quickly
- Toothpaste or abrasive home remedies — these remove surface oxidation through abrasion but leave polycarbonate completely unprotected, accelerating re-oxidation
- Basic soap and water — essential for general cleanliness but no effect on UV degradation
For a full explanation of why abrasive home remedies leave headlights more vulnerable rather than less, our article on whether toothpaste really restores headlights covers the mechanism.
Building a Simple Headlight Maintenance Routine
The most effective long-term protection is not a single product or a one-time treatment — it's a simple routine that maintains UV protection consistently over time. Here's what that looks like in practice:
For headlights that are already clear
- Run the full three-step process now, before any yellowing begins — on a clear lens it takes about two minutes per headlight and leaves a fresh UV sealant coat
- Repeat every three to six months, or whenever you notice the glossiness slightly reducing
- Park in shade or indoors whenever possible
- Wax the lenses when you wax the rest of the car for supplementary protection
For headlights that have just been restored
- Apply wipe three from the restoration kit immediately after wipes one and two as the sealing step — this is already part of the standard process
- Check the lenses every four to six weeks — if they feel smooth and look glossy, the UV coat is holding
- When slight haze begins to appear, repeat the full three-step process — the sealant needs a freshly cleaned and prepared surface, so there's no wipe-three-only shortcut
- One kit is one complete three-step treatment for both headlights
If you're looking for the right kit to start this routine with, our guide on what makes the best headlight restoration kit covers exactly what to look for — including UV protection as a non-negotiable feature.
|


Related Guides
→ Why Headlights Turn Yellow — The Science Behind UV Oxidation
→ How Long Does Headlight Restoration Last?
→ Best Headlight Restoration Kit — What to Look For Before You Buy
→ How to Restore Yellow Headlights at Home — Step-by-Step Guide
→ How to Restore Oxidized Headlights at Home
→ DIY Headlight Restoration: The Complete Guide (2026)
Frequently Asked Questions
| Can you actually prevent headlights from turning yellow? |
| You cannot stop UV degradation completely, but you can slow it significantly. A UV-blocking sealant applied regularly reinforces the hardcoat and delays the yellowing timeline. Combined with shade or garage parking, drivers typically see headlights staying clear considerably longer than the two-to-five-year first-yellowing window common on unprotected lenses. |
| How often should I apply UV protection to my headlights? |
| A UV sealant coat typically needs renewing every three to six months under normal conditions. Drivers in hot, sunny climates or who park outdoors consistently should lean toward the shorter end of that interval. The easiest approach is to check the lenses monthly — if they still feel smooth and look glossy, the coat is holding. When slight dulling begins, repeat the full three-step process: the sealant needs a freshly cleaned and prepared surface to bond to, so there is no sealant-only reapplication. |
| Does waxing headlights actually protect them? |
| Car wax provides a modest UV-absorbing barrier and is better than nothing — especially as a supplement to a UV sealant. However, wax breaks down within two to four weeks with washing and weather exposure, so it should not be relied on as a primary protection method. A dedicated UV sealant coat renewed every few months is significantly more effective. |
| Is it too late to protect headlights that are already slightly yellowing? |
| No. For early-stage oxidation, run the full three-step process — the removal wipe clears light haze in a single pass, the prep wipe readies the surface, and the sealant locks in the UV protection. For more significantly yellowed lenses the same three steps apply, with more work on the removal wipe. Either way, this is the most effective time to start the maintenance routine. |
| Is paint protection film worth it for headlights? |
| PPF is worth considering if you're planning to keep the car for many years and want hands-off long-term protection. It provides a durable physical UV barrier that lasts several years. The cost is higher than sealant-based approaches, and it should only be applied to lenses that are already clear. For most drivers, a regular UV sealant maintenance routine is more practical and cost-effective. |
| Does the UV sealant in a restoration kit work as a protective coat on clear headlights? |
| The UV sealant in the kit is applied as the final step of the three-step process — it is not a standalone product. To add protection to lenses that are still clear, run the full process: on a clear lens, wipes one and two take seconds and simply clean and prepare the surface, and wipe three then lays down the UV-blocking coat. Using wipe three on its own, without wipes one and two, is not how the kit is designed to work. |
The Bottom Line
Protecting headlights from UV damage is simpler than most people realise — and far less effort than dealing with the restoration once they've gone yellow. The key is understanding that the protection needs to be active: a UV-blocking layer between the sun and the polycarbonate surface.
The most practical approach for most drivers is a fresh UV sealant coat every few months — applied as the final step of the three-step process — combined with parking in shade when available. That combination maintains the hardcoat's protective function at a very low cost and time investment. For those who want longer-term protection without regular maintenance, PPF or ceramic coating are viable alternatives at a higher price point.
Either way, the principle is the same: keep UV radiation from reaching the polycarbonate directly, and the yellowing timeline extends considerably. The lens that might otherwise start hazing in three years can stay clear for significantly longer with a simple, consistent protection routine.
The UV sealant in our headlight cleaning and restoration wipes is applied as the final step of the three-step process — on clear lenses as prevention, on oxidized lenses as restoration. Browse the full restoration collection or visit our FAQ page for questions before ordering.
And remember: prevention is always easier than restoration — a two-minute three-step treatment a few times a year is far simpler than waiting until heavy yellowing sets in.
Prevention is always easier than restoration.
Two minutes. A few times a year. Clear headlights, long-term.