
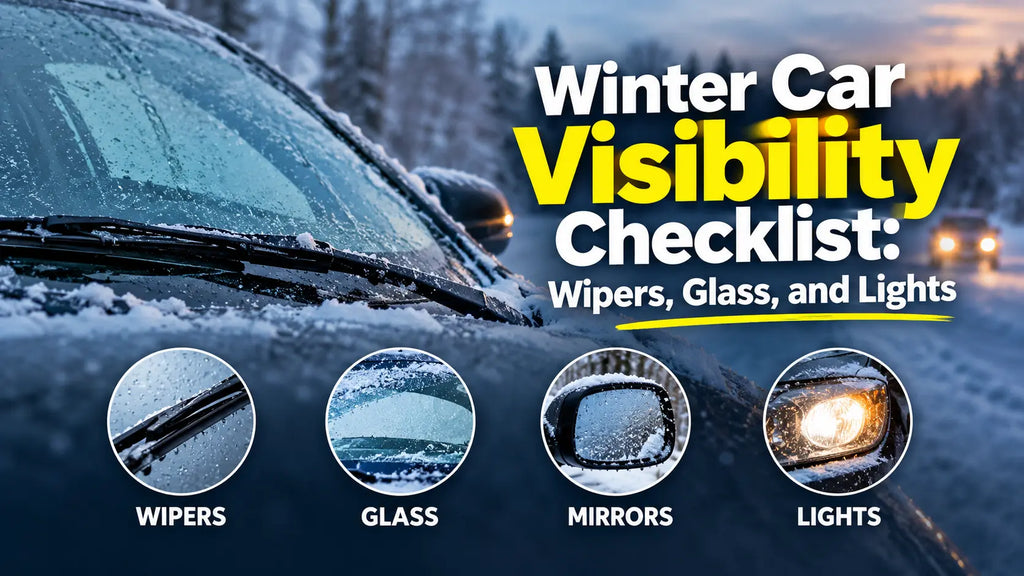
Winter Car Visibility Checklist: Wipers, Glass & Lights
Winter driving shrinks your margin for error. Days are shorter, the low sun glares off wet roads, and road spray coats your glass the moment you merge onto the highway. The good news is that most winter visibility problems come from a handful of parts you can check yourself in about half an hour. This checklist covers your wipers, glass, mirrors, and lights, in the order that is easiest to work through in a driveway.
Why Winter Makes Visibility Harder

Several things stack up at once. There are fewer daylight hours, so more of your driving happens at dusk or after dark. The sun sits lower in the sky, which makes glare through a dirty windshield stronger. Cold air makes windows fog and ice over, and wet roads reflect headlights back at you. Road salt dries into a white film that spreads across your glass and lights with every pass of the wipers. None of these is dramatic on its own, but together they can make an ordinary drive much harder on your eyes. Fixing the small things in advance means you are not dealing with all of them at once on a dark, slushy morning.
Start With the Wipers

Wiper blades are rubber, and rubber hardens with age, sun, and cold. If yours streak, skip, chatter, or leave a band of water across your view, they are no longer doing the job. Run a clean finger along the edge of each blade. A rough, cracked, or split edge means it is time for a replacement.
If the rubber looks healthy but the wipe is still smeary, wipe the blade edge with a cloth dampened with washer fluid. Built-up road film is a common culprit. If you get regular snow and ice, consider winter blades. Some have a rubber cover over the frame that helps keep ice from packing into the joints.
- Check each blade for cracks, splits, and hardened rubber.
- Clean the blade edges and the windshield before testing them.
- Follow your owner's manual for winter parking and any wiper service position. Do not force the arms upward or let them snap back onto the glass.
- Never pull on frozen wipers or run them while frozen to the glass. Clear the ice first, or you risk tearing the rubber or straining the motor.
Washer Fluid and Nozzles
Fill the reservoir with washer fluid rated for the lowest temperatures you expect. Plain water can freeze in the lines and the reservoir, and then you have no way to clear salt spray. Test the spray before you need it. If a nozzle only dribbles, check for ice or visible debris and follow your owner's manual for cleaning. Avoid inserting a pin unless the manufacturer recommends it, because some nozzles can be damaged.
Clean All of the Glass, Inside and Out
Most people only clean the outside. The inside of your windshield slowly collects a hazy film from interior plastics, hand oils, and sometimes smoke. At night, that film scatters oncoming headlights into streaks and glare, and it makes the glass fog up faster.
Use glass cleaner and two clean microfiber cloths: one to apply and one to buff dry. Reach the upper corners of the windshield, and do not forget the rear and side windows. On the outside, road film and salt residue smear easily and glow in low sun, so a thorough wash of the glass is worth the effort before winter starts.
Test your front and rear defrosters before the first hard freeze. Make sure the blower works, air comes out of the windshield vents, and the rear window grid warms up. Use a soft cloth on the inside of the rear window and avoid scraping the heating grid. Remove exterior ice with a plastic scraper according to your vehicle's care instructions.
Mirrors, Snow, and Sensors
Clearing a small peephole in the windshield is a classic winter mistake. Clear the whole windshield, the side windows, the mirrors, and the rear glass. Brush the roof too, because a sheet of snow can slide down onto your windshield or fly off behind you.
Also clear your headlights, taillights, license plate, and any cameras or parking sensors. Use a soft brush or cloth on lights, cameras, and sensors, following the owner's manual; do not scrape their surfaces. Use a plastic scraper rather than a metal tool on exterior glass, and never pour hot water on frozen glass. The sudden temperature change can crack it. Run the defroster and use a suitable de-icer instead.
Check Every Exterior Light
In winter you are driving in the dark far more often, and your lights do two jobs: they help you see, and they help other drivers see you. Walk around the car and check the low beams, high beams, taillights, brake lights, turn signals, hazards, license plate lights, and reverse lights. Park facing a garage door or wall at night so you can see the beams, and ask a helper to press the brake pedal so you can check the brake lights. Check reverse lights only with the vehicle secured and everyone clear of its path.
- Replace any bulb that is out, and check that both sides match in brightness.
- Wipe salt and slush film off all lenses whenever you wash the car or fill the tank.
- If a beam appears unusually high or low, have a shop check the aim against your vehicle's specifications.
Cloudy or yellowed headlight lenses are another common reason a beam looks weaker than it should. Our headlight restoration wipes are one complete 3-step treatment for both headlights, take about 2 minutes per headlight, and the results last several months. Our DIY Headlight Restoration: The Complete Guide covers the whole process.
If your lights all work but still seem dim at night, our guide on how to improve night driving visibility explains the common causes.
Winter Visibility Checklist at a Glance
| Area | What to check | Fix |
|---|---|---|
| Wiper blades | Streaking, skipping, cracked rubber | Clean the edges or replace the blades |
| Washer fluid | Freeze rating, spray pattern | Refill with winter fluid, clean nozzles as directed |
| Interior glass | Hazy film, glare at night | Clean with glass cleaner and microfiber |
| Exterior glass | Road film, salt residue | Wash thoroughly |
| Defrosters | Front and rear heat and airflow | Test before the first freeze |
| Mirrors and sensors | Snow, ice, dirt | Clean gently following the owner's manual |
| Exterior lights | Burned-out bulbs, dirty lenses | Replace bulbs, wipe lenses |
| Headlight aim | Beams pointing too high or low | Have a shop adjust the alignment |
Build a Simple Winter Routine
You do not need to repeat the whole checklist every week. Do it once before the first freeze, then use a few quick habits to stay ahead of problems:
- Keep a plastic scraper, a snow brush, a spare jug of washer fluid, and a microfiber cloth in the car.
- Glance at your lights every time you refuel.
- Wipe the inside of the windshield whenever you notice haze or glare.
- Repeat the lights and wipers check after a major storm.
Frequently Asked Questions
How do I know when to replace my wiper blades?
There is no fixed schedule. Replace them when they streak, skip, chatter, or show cracked or split rubber. Check them at the start of every season.
Can I use plain water in my washer reservoir in winter?
Not in freezing weather. Water can freeze in the lines and reservoir. Use washer fluid rated for cold temperatures.
Why does the inside of my windshield get hazy?
A film builds up from interior plastics, hand oils, and smoke. It causes glare at night and makes fogging worse, so clean the inside regularly.
Is it safe to pour hot water on a frozen windshield?
No. The sudden temperature change can crack the glass. Use the defroster, a plastic scraper, or a de-icer instead.
How can I check my brake lights by myself?
With the car parked securely near a wall or garage door at night, watch the reflection while you press the pedal, or ask a helper to look while you press it.