How to Restore Cloudy, Yellow Headlights in 3 Steps
One kit treats both headlights. Allow about 2 minutes per headlight. No sanding and no tools.
Before you start
- Park in the shade and make sure the headlights are cool and smooth to the touch.
- Wear gloves and work in a ventilated area. Each wipe is single-use.
Step 1: Clean (remove the oxidation)
Unfold the No.1 wipe and clean each headlight thoroughly, covering the whole lens. The yellow you see on the wipe is the oxidation coming off. Then dry the lens with a paper towel.
Step 2: Dry
Make sure both headlights are completely dry before you move on. Do not skip this step: the protective coating needs a clean, dry surface.
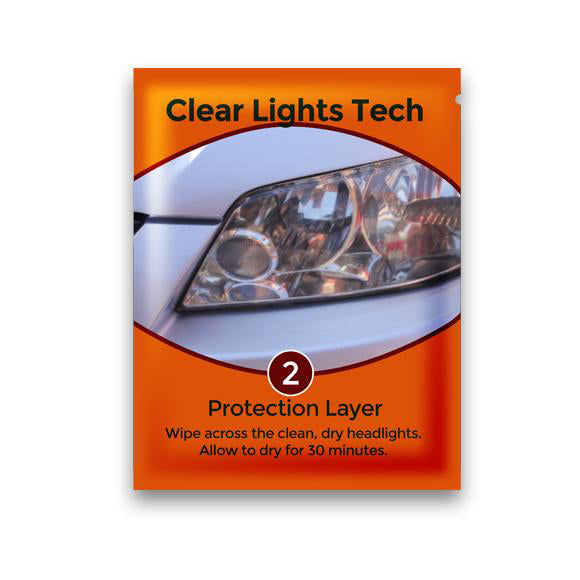
Step 3: Protect (UV protection)
Wipe both headlights with the No.2 wipe. Use it as it comes, without unfolding it. Do not touch or wet the headlights for 30 minutes, and do not wash the car for 24 hours.
Important: always do all three steps, in order. Without the UV protection step, the lens is not protected and the yellowing comes back sooner.
Frequently asked questions
Do I need to sand my headlights?
No. The wipes remove surface oxidation without sanding and without tools.
How long do the results last?
Several months, depending on how much sun the car gets. A car parked outside in strong sun will need a new treatment sooner than one kept in a garage.
What should I do when my headlights get dull again?
Repeat the full 3-step treatment. There is no shortcut: the UV protection needs a freshly cleaned and dried surface.
Is one kit enough for both headlights?
Yes. One kit is one complete 3-step treatment for both headlights.
Will it fix cracked, peeling or pitted headlights, or fog on the inside of the lens?
No. The kit treats oxidation and yellowing on the outer surface of the lens. If the lens is cracked, peeling or fogged on the inside, a kit will not fix it.