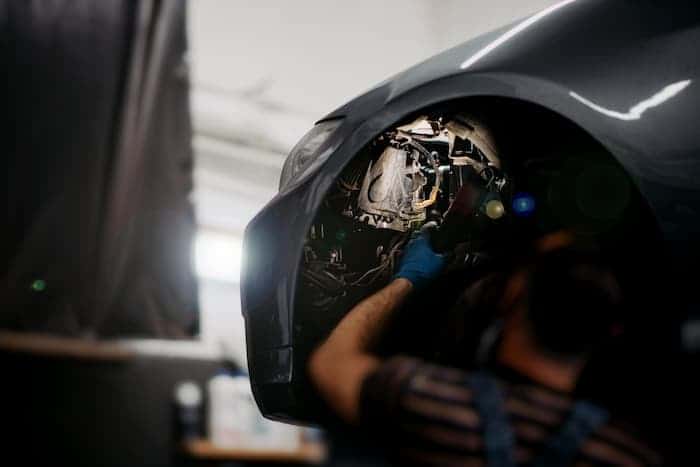
At the centre of your car’s dashboard, next to the windshield, is where you’ll find the automatic headlight sensor. The headlight automatic sensor is another innovative design like the Laser headlights in the automobile industry. This sensor is designed to control your vehicle’s lighting system and will switch the lights on automatically as it gets dark and off when it gets light. To keep the system working properly, don’t cover the sensor with anything. If your car has automatic high beams, you can use them by pulling the stalk forward to turn on the high beams and then putting the stalk in the Auto position to activate the automatic high beams. A LED in the instrument panel will light up to let you know the system is on when the high beams come on. Automatic headlights are useful on night-time roadways. The system will automatically convert to the low beams if it detects the presence of another vehicle or if you are approaching another car from behind. The system will automatically switch back to the high beams once it detects that the car has passed or that there is a growing gap between the two vehicles. Simply pull the stalk toward you and switch to low beams to turn off this feature.
The light sensor’s only job is to record ambient light levels and turn on and off the vehicle’s lights automatically. When the light switch is in the AUTO (automatic daytime running light control) position, the light sensor is activated, and the lighting is turned on or off based on the brightness of the surrounding area. An optoelectronic detector measures the illumination conditions outside. The sensor records specific wavelengths to differentiate between artificial light and daylight using an upstream filter glass. Two independent sensors are used to measure both the front-end lighting and the ambient light. The ambient light sensor records the illumination all around the car from a wide spatial angle. The front-end light sensor records the amount of light in front of the car from a small angle. The receiver properties of the sensor must be matched to the installation circumstances to do this. The daytime running light is turned on or off based on the detected lighting conditions (day, night, dusk, or traveling through a tunnel or bridge) using a specific algorithm that analyses sensor data and additional information from the car electronics.
Upgradeable functions and areas of application
The following sensor functions can also be covered as options in addition to recording light:
- Solar sensor
The air conditioning control unit receives this figure from the solar sensor, which records the insolation through the windshield that affects the driver and passenger. The control unit analyses the data and employs it to regulate the interior air conditioning. The solar sensor’s spatial detecting region essentially resembles a hemisphere that is inclined forward due to the windshield’s slope.
- Head-up-display lighting
The illumination in front of the vehicle is also measured by a second sensor (HUD). The HUD sensor’s receiver characteristics are like the driver’s viewing angle and less favourable than those of the front-end sensor. If the car has a head-up display, this knowledge can be used to modify the brightness of the image that is projected onto the windshield. Legibility of the display is optimized for the driver based on the lighting conditions at the time.
Replacing the rain sensor
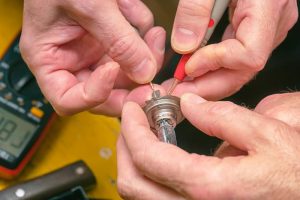
- Removing the automatic light sensor
- Remove car-specific cover from inside of windshield.
- Disconnect the electrical connector with care from the connector housing.
- Use a small screwdriver and the retaining spring to release the lock by gently pressing down on the spring.
- Pulling gently and frequently on the plug side of the plug will remove the sensor and gel pad from the windshield.
- Installation instructions for automatic headlight sensor
- The assembly area on the windshield needs to be dry and clear of contaminants like fibres or grease. If required, clean the area using an alcohol-based cleanser.
- The coupling medium ought to be whole, spotless, and devoid of air inclusions. If damaged, the coupling medium should be changed, or if necessary, the entire sensor.
- To place the automatic headlight sensor in the assembly area, lightly press on the two spring clips on the holding frame. Increase the pressure on the right and then the left spring arms in turn to audibly engage the retaining clip. When pressure is being increased, the sensor shouldn’t be slanted. Never engage both spring arms at once!
- Next, visually inspect the fastening element’s catch mechanism.
- Check that the electrical connector is properly positioned before locking it in the enclosure.
- After construction, visually inspect the windshield’s sensor region.
- Assembly instructions for coupling automatic headlight sensor
A coupling material that creates a flat layer on the optical sensor helps to attach the sensor to the windshield. The coupling medium (gel) creates a defined optical interface by levelling out any irregularities between the optical sensor and windshield. Mistakes or sensor failure could be brought on by improper assembly.
The use of various fastening components or coupling materials may vary depending on the vehicle manufacturer. Consequently, please follow the removal and installation guidelines provided by the appropriate vehicle manufacturer. After installing your car’s automatic sensor, we recommend you also restore your car’s headlight lenses for optimum beam projection using a headlight restoration wipe. Additionally, cleaning your car’s headlight lense helps to prevent oxidation and other road debris.