Do you have an old car and wish to make it look new to increase your car’s resale value? Or better still, you want to know how to make your old car look new so you can enjoy that feeling of riding a new car. Well, whatever your reasons are, we are with you and we believe also that having an older car or car model doesn’t necessarily mean experiencing outdated or boring cruising experience. To help you transform your old and vintage car into a more classic and modern ride, read on to find out how you can make an old car look new!
DIY steps to making your car look new
- Step One: Give it a proper cleaning
Do you know what hinching is? It’s all the rage right now on Instagram; however it’s mostly about getting the house in order. So, fetch your car and hitch it up! Giving your car a full inside and outside detailed cleaning can make a huge impact towards transforming your car into your desired appearance.
Interior cleaning instructions
Take a large black bag and empty all of the trash from inside your car before you begin. Bottles of soft drinks, McDonald’s wrappers, papers, everything you’ve stuffed in the glove compartment and forgotten about, the air freshener that hasn’t worked in years. Examine the seat pockets, as well as the door storage and the boot.
- Sun visors and headlining
Begin at the very top. You might be shocked at how much of a difference cleaning your car’s headliner and sun visors can make. It’s worth taking the time to clean the fabric that covers the interior ceiling because it might become discolored and trap odors. Spray your headliner and sun visors with upholstery cleaner to give them a thorough cleaning. Upholstery cleaners with foam are advised for this. Follow the product’s instructions, and then carefully brush the headliner with a soft-bristled brush. Allow it to dry for a few hours after that.
You can use a steam cleaner to clean severely dirty headliners and sun visors, but this can damage the glue that holds the layers of your headliner intact.
- Pillars and grab handles
Wipe down your car’s grab handles and pillars with a clean microfiber cloth. You can use the same upholstery cleaning you used on the headliner and sun visor, or an antibacterial spray, depending on the material.
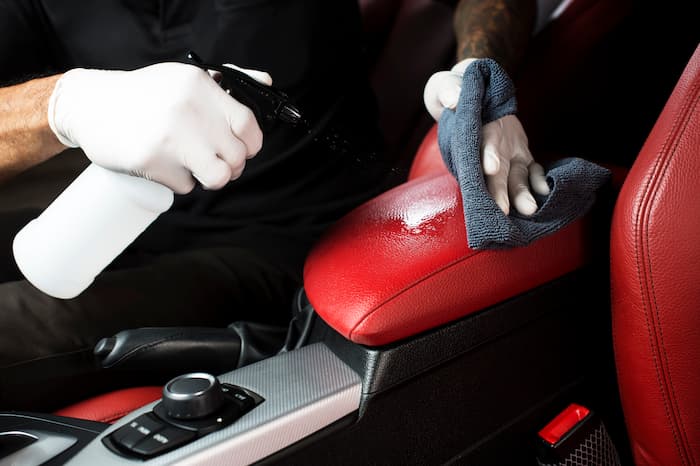
- Seats and seat belts
To clean your seatbelts, stretch them out as far as they can go, then secure them with a clip at the top. Clean the belt with a cloth and the same upholstery cleaner you used on the headliner. Allow for a few hours of drying time before allowing them to roll back in.
If you have cloth car seats, vacuum them first, then use a window squeegee or a damp rubber glove to clean them. To remove thick fluff, dusts, and pet hair, use the squeegee or a damp glove. Then use the upholstery cleaner as well.
- Mirrors and windows
If you used your window squeegee to clean the seats, rinse it. Then, using a squeegee or cloth, clean your car windows and mirrors with a window or glass cleaner. Wind down your windows to clear the filth from the top of the glass and ensure a streak-free clean.
- Panels for doors
Vacuum your door panels as well as any nooks and corners. Wipe down the entire interior door panel with leather cleaner where appropriate and a vinyl cleaner for the others. Check a tiny area to see if the cleaner you’re using is suitable to use on the internal material of your door.
- Drink holders and air vents
If your air vent filters are removable, it’s time to replace them. Clean them, as well as any beverage holders or trays in your car.
- Steering wheel and dashboard
Although dedicated dashboard cleaners and wipes are available, warm water and a light soap will suffice. However, use caution while using water, since you don’t want to risk water getting into the electrics. A glass cleaner will effectively remove filth and grease. Also, wash your dashboard under a shade to prevent the substance from drying out too soon in the sun.
Wipe down your indicator sticks as well, and pay special attention to your steering wheel, which is one of the dirtiest sections of a car interior.
- Floor mats, rugs, and boots
Bring out the vacuum once more and thoroughly vacuum your footwear and carpeting. If your floor mats are beginning to show signs of wear, trash them and replace them – a rubber floor mat is an excellent way to prevent mold from forming from damp shoes entering and exiting your vehicle. Brush your carpets with a nylon brush before vacuuming them for a deep clean. This will reveal any deeply embedded dirt in your car’s carpets.
Exterior cleaning guide
It’s time to wash the outside of your car now that the inside has been taken care of. You can take your car to the car wash if you want, but if you have the time, cleaning it yourself usually yields excellent results. This is because you’ll be able to devote more time to the areas that require the most care.
Cleaning your car using the three-bucket approach is recommended:
- A bucket of soapy water: This bucket is only to be used with soapy water. You must not dip your dirty towel in here.
- Bucket of clean water: Before dipping your dirty cloth back into the soapy water bucket, rinse it in this bucket.
- Bucket for wheels and tyres: Have a bucket of soapy water set aside for the wheels, as they are always dirty.
First, wash your car. Rinse your car with a microfiber cloth dampened with water or a hose. The idea is to wash away any substantial amounts of dirt before getting into the soapy water. Due to being dried on in the heat, bugs and insects stuck to the exterior of your car can be difficult to remove. Soap will struggle to remove these pests off your car, but there is a simple technique to do so. Get a pail of warm water and a few dryer sheets. Soak the dryer sheet with warm water and wipe the bugs down. This will make it much easier for them to go.
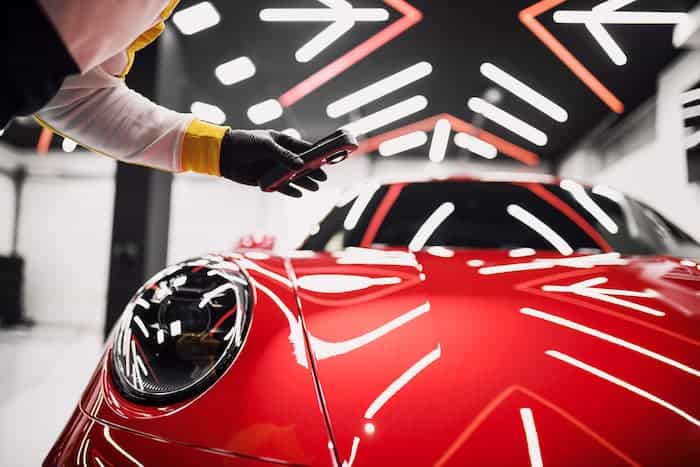
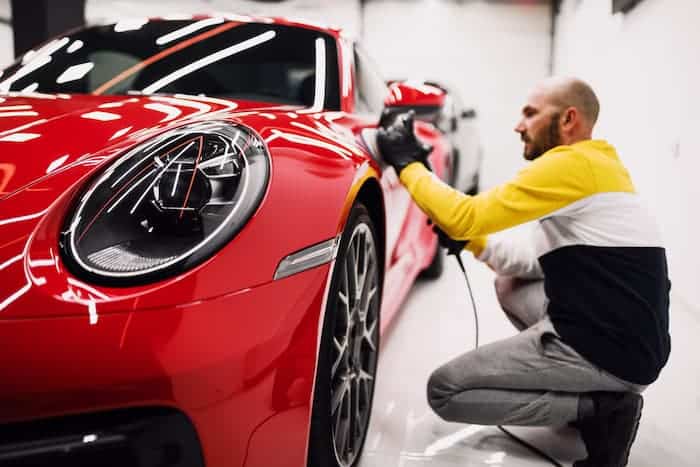
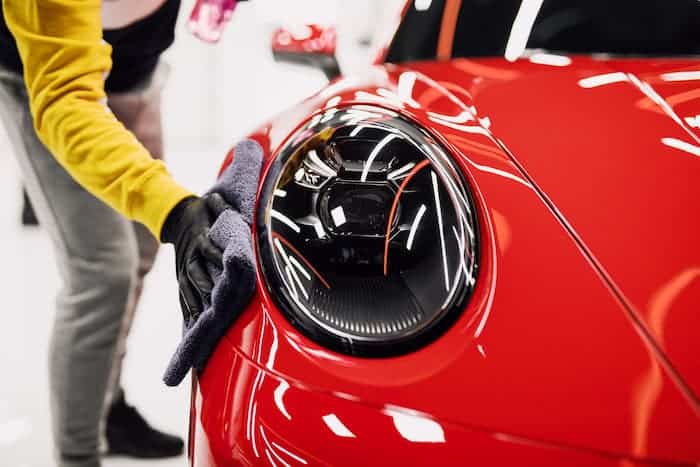
Then you can use soapy water to wash your car. As you proceed, remember to rinse your cloth in the clean water bucket. Use a clay bar for difficult areas. Use regular white toothpaste to brighten your headlights (not the gel kind). Rub the toothpaste to your headlights with a clean cloth. The toothpaste should then be rinsed away with water. After cleaning the car, polish it with a dual-action polisher or hand polish to restore its luster. Then, to maintain the paint and that hard-earned gloss, apply a final coat of wax. To guarantee an equal finish, apply the wax with a power buffer and then wipe it with a clean towel.
Alternatively, you can make use of a headlight restoration kit for your car’s headlights. This headlight restoration kit comes with a wipe and it’s recommended as compared to using toothpaste. That is because headlight restoration kits are designed for headlight use only and would not only restore your car’s headlight to their original state but also protect them from UV rays to avoid reoxidation.
However, don’t apply any product on the tires; plain water will be enough. It’s time to get to work on the wheels. Use your allocated wheel bucket to avoid having brake fluid splashed on your windows.
Replacing parts with new ones
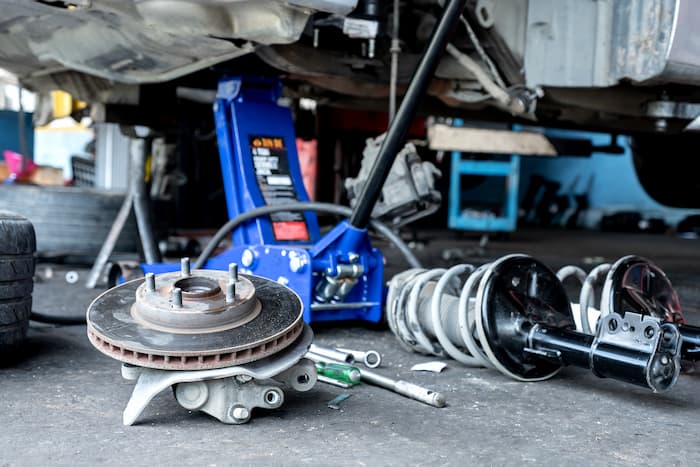
You may now assess the state of your car after it has been thoroughly cleaned both inside and out. Some parts may need to be replaced, which will improve your car’s overall appearance. This doesn’t have to be a costly replacement!
- Seat covers: if you don’t want to spend a lot of money on reupholstering your car seats, seat covers are a great option. You can also add some personality by selecting from a variety of designs and patterns.
- Use a cherished number plate: These are registration plates without a year identifier. This is a fantastic method to make an older car appear newer!
- New speakers: If you enjoy listening to music in your car, upgrading the speakers will enhance your experience.
- New wheels: if your wheels continue to show signs of wear after cleaning, it’s time to replace them.
- A new coat of paint: if your budget permits, a fresh coat of paint can transform an old car.