Car headlight lenses will definitely yellow or get foggy over time, almost like if it doesn’t, then it hasn’t fulfilled its purpose. Once your headlights are yellowish in color or oxidized, you can choose to either change your car headlight or restore your car headlight lenses with a restoration wipe.
Whichever method you choose to opt-in for, chances are the clear coat, protecting the headlight lenses from oxidation will be removed by your sanding or the restoration solution exposing your car headlights to oxidation factors like UV lights, Sunrays, air pollution, water, and grits.
Why should uou apply a car headlight coating?
If you are using a sanding disc of about 1,000 to 5,000 grit, you would be sanding a bit more of your car plastic off, but that’s the extent of it. It’s without a doubt that the use of a sanding disc and headlight restoration wipe solution will remove oxidation from most plastic headlights.
Thus, the rest of the plastic after the restoration process would still be as old as it were and are subject to damage or oxidation by sun rays or UV lights because the coating which was intended to protect the headlight lens has been removed in the process of restoration.
So, if exposed to sunlight without a clear coating after restoration, they will turn yellow faster than a brand new headlight. When that happens, you would have to choose restoration again which begs the question, how many times do you think you can sand your car headlights before the plastic cracks from being too thin?
Generally speaking, I expect car headlight lenses to withstand a single good sanding. While the purpose of a clear coat is to serve as an extra layer between your car headlight lens and outside elements such as the sun, adding a clear coat after your headlight restoration would slow down the oxidizing a little bit, but then, how do you apply headlight coating?
To get you started, here is the step by step method of applying headlight coating.
How to apply headlight coating
Total Time: 5 minutes
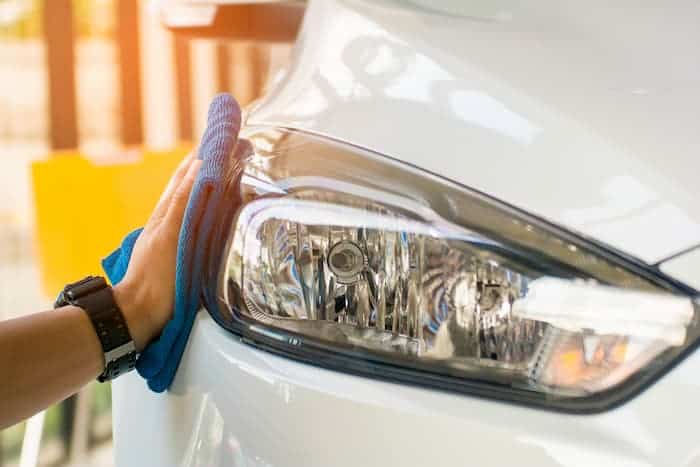
Step one: Wash and dry your car headlights
The first step to coating your headlights would be to ensure they are clean and completely dry. After you must have washed your car headlights with automotive soap, get your restoration kit – for this process, we recommend you make use of Clear Light Tech restoration kits. That’s because it does not require sanding. Sanding may damage your plastic headlight lens and cause it to crack.
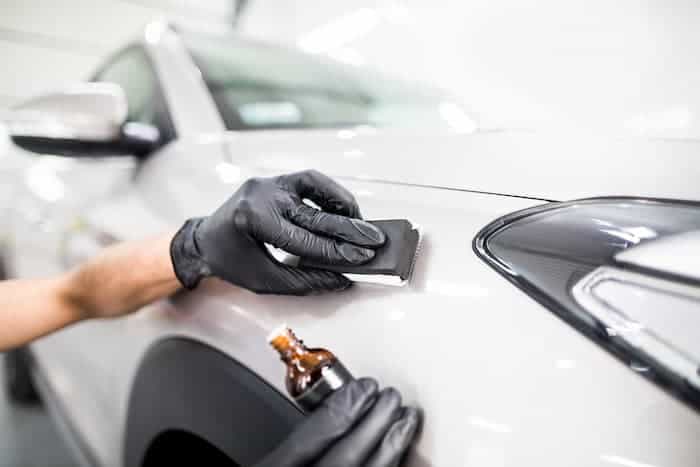
Step two: Restore your car headlights
Before coating your headlight lens, you must first restore them to remove oxidation. To do this, open your pack of headlight restoration kit and get the folded restoration wipe found in the CLT restoration kit. Using the wipe, clean your car headlight lens in a circular motion till oxidation is removed.
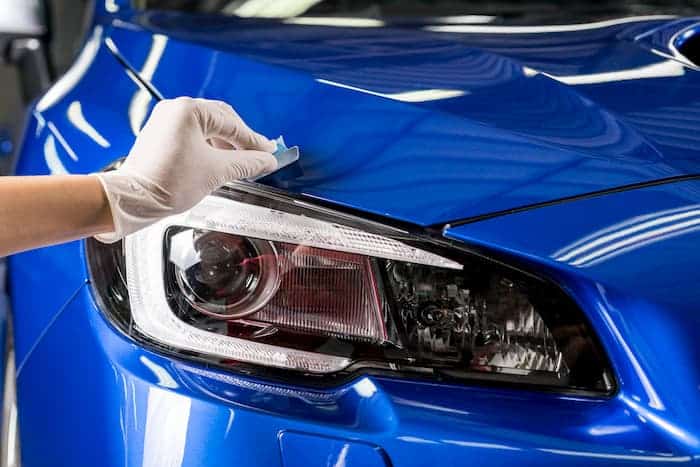
Step three: Coat your headlight lens
Applying a clear coating to a headlight has never been made easier. Rather than masking the surroundings of your car headlight covers, the second wipe found in the restoration kit is produced in such a way that is friendly with the body of your car. This means that it wouldn’t peel or change your car paint job.
Supply:
- Headlight restoration kit
Tools:
- Paper towel
Materials: Water
With this unfolded wet wipe, gently wipe across your car headlight lens to apply a clear coating. Allow the first coating to dry for up to 5 minutes and apply again to completely seal.
Importance of car headlight coating
The importance of applying a clear coating to your headlight lens after restoration cannot be overemphasized. It helps protect your car lens against sun rays while ensuring your car headlights last for about 2 to 3 years like a new car headlight lens.
Aside from protecting your headlight lens against UV rays, adding a protective coating also protects your car headlight plastics from road debris and scratches. For more about headlight restoration, check out the different DIY methods to restoration with homemade solutions.