When it comes to auto detailing, it’s no surprise that we often see less on how to remove oxidation from tail lights than how to restore plastic headlights. This is because rear headlights, unlike front headlights, don’t deal with road debris and grits flying around while in motion. Yet, they require just as much attention as your plastic headlights.
How do tail lights work and why are they important
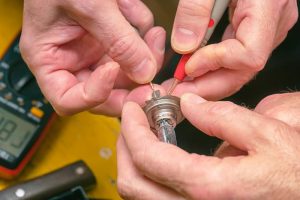
Tail lights work automatically on a circuit transmission. That means they turn on together with your car headlights. Thus, eliminating the stress of having to put on and off two switches while driving. That’s because the tail light of a vehicle is wired directly to the same switch that controls and turns on the headlights to enable it to function effortlessly. If your car headlights are turned on automatically, the tail light will also turn on automatically once the car engine is on. But if your headlights make use of a switch to put it on, then, your tail lights will only light up when the switch is put on for your headlights.
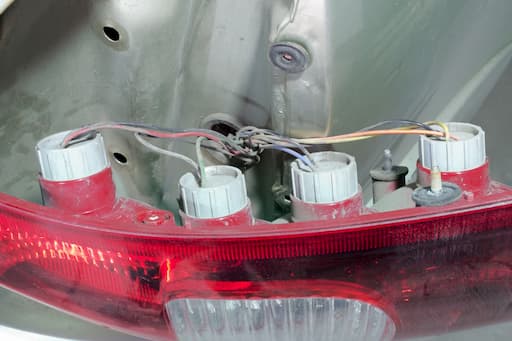
In addition to that, the switch connecting both the tail lights and headlights is wired directly to the car battery for optimum power circulation and brighter beam. Tail lights are crucial to informing drivers behind you of your intentions. Be that as it may, one of the most challenging circumstances a driver can confront while driving on the road is the point where those tail lights don’t illuminate as they ought to due to oxidation inside the tail light housing. This can make it difficult for other drivers to tell when the car ahead is slowing down or navigating on the highway. Thereby, resulting in safety risks such as collision.
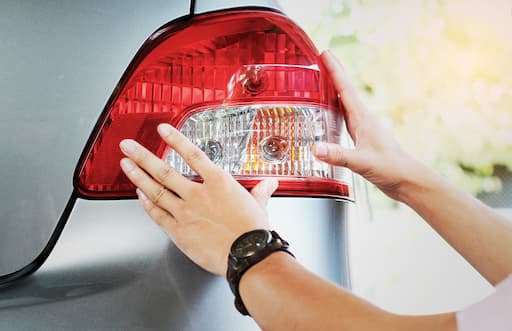
However, just as you would restore your headlights when they become oxidized, cloudy, or foggy after an extended period of usage, you can also restore your plastic tail light lenses when they look hazy and unattractive rather than replacing them.
DIY plastic tail light lens restoration tips
To effortlessly clean and remove oxidation on your own from your tail lights without damaging or scratching the acrylic or polycarbonate housing, follow the simple DIY steps below.
To get started, you will need the following items:
- Bowl, Warm Water, Sponge, Automotive Soap: To wash, Clean, and remove oxidation from tail lights before starting the restoration process.
- Microfiber Towel: To dry your rear headlights after washing with an automotive soap and sponge.
- Mask Tape: To protect the surrounding of your car’s tail light from scratch and the formula of your restoration kit during the restoration process.
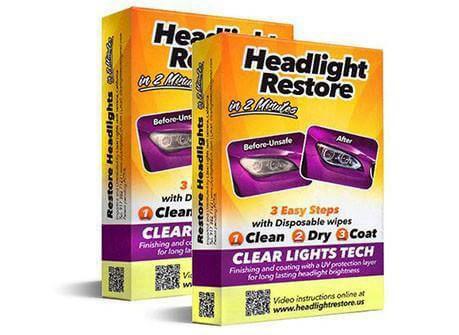
- Tail Light Restoration Kit: To make your work faster and efficient. If you are new to restoring plastic tail light lenses, I recommend using the CLT restoration kit to remove oxidation from your tail lights. That’s because the product has a renowned and tested record of wiping clean debris, grits, and oxidation from tail lights within a minute of application. It is also suitable for a DIY weekend car care routine as it comes with a clear self-explanatory three-step user manual.
- Buffing and Polishing pads: Buff pads attached to any home drill to make polish finishing very fast and efficient like a professional.
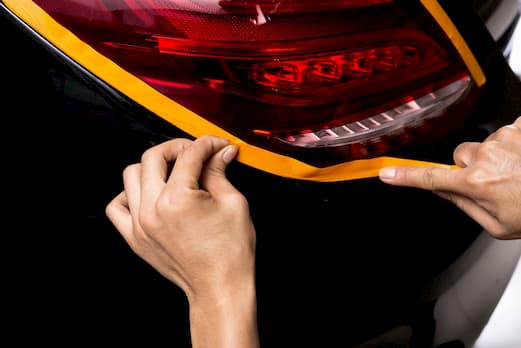
- Tail Light Protection Film: To provide further protection for your tail light against sun rays, air pollution, and harsh weather conditions after you must have restored your plastic tail light lenses.
Iinstuctions
Step One: Wash your Tail Light with an Automotive Soap.

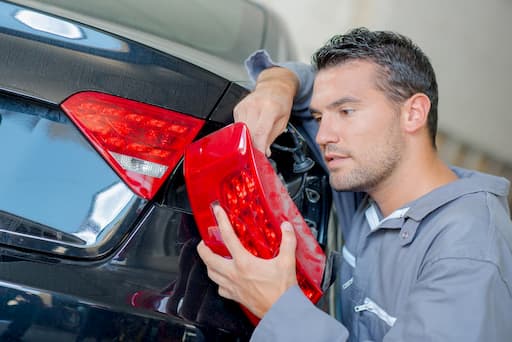
With your car in a well-shaded place, use your sponge and a good specialized automotive soap to wash the area of your car’s tail light completely. Once you are done, rinse thoroughly to ensure that particles of dirt, debris, and soap are removed completely. Then, wipe your tail light with a soft microfiber towel to dry.
Step Two: Mask the Surrounding of your Tail Light with a Tape.
After you have cleaned and completely dried your tail lights, the next thing you should do is to apply masking tape around the edges of your tail light frame. This is to protect the body of your vehicle when you start to restore your plastic tail light lenses.
Step Three: Remove Oxidation and Restore Plastic Tail Light Lenses.
Open your restoration starter kit and with the first wipe found inside, clean your rear headlights thoroughly in a repeated smooth uniform side to side motion. Once you are satisfied it’s clean, dry the tail light using the paper tower found in the kit.
Before proceeding further, wait for about two minutes and ensure both of your rear headlights are completely dry. Then, open the second packet found in your restoration starter kit. Do not unfold the wipe found in this packet. Now, wipe both tail lights gently for the last time. For maximum results, allow a waiting time of about 30 minutes after the first wipe and you will be amazed by how incredibly clean your plastic tail light looks.
After you must have restored your plastic tail light lenses, avoid getting it wet for at least half an hour so that the formula in your clear light tech restoration kit will continue to work and remove any oxidation you left untouched from your tail lights. Also, you shouldn’t wash your car for the next 24 hours to allow a complete restoration cycle, which is why I recommend you try this on a weekend.
Now that your plastic tail lights are back to its original state, you can choose to polish them further with a buffing or polishing pad attached to a drill just to give your tail light lenses that finishing touch as the professionals would do.
Finally, to make sure your plastic tail lights remain clean, look new, and remain resistant to oxidation for another couple of years, I would recommend you buy a protection film and install it after cleaning your headlights using the above restoration methods.
However, you can always wipe your tail lights from time to time using the instant protection wipe found in each restoration kit you purchase from clear light tech to continue giving your plastic tail lights a dazzling beam irrespective of the weather or the intensity of sun rays it’s exposed to daily.