Car headlights are perhaps the most important feature in a car, some may argue against this, but at night, you cannot drive effectively as a professional driver without proper functioning headlights.
You’re probably thinking only a moron would go out at night without headlights, right? Well. Let’s do you one better; it is also not wise to drive around during the day when the headlights are faulty or oxidized. This is because some state headlight laws prohibit it and you can be given a ticket if you are found. This brings us to one of the most frequently asked questions:
When do headlight do need changing

Being a safe and careful driver, there are a lot of signs and pointers as to when you need to change your car headlight bulbs. So, it is important that you pay attention to all of these things and be more proactive.
Here are some of the early signs to watch out for to help you decide when to change your headlight bulb:
- Dimness
If you ever notice that one or both of your headlights are dim, don’t panic and change it immediately.
Dim lights may also occur because you do not clean your vehicle’s headlamp often. So, when you notice this, clean the headlamps thoroughly using a headlight restoration wipe, and after that, if the lights still appear dim, then the bulbs need changing.
In addition, headlights have a service life, a span of time before which they need to be changed, and when they are nearing that period, they show signs of becoming dim.
- Flickering
If you notice that your headlights flicker on and off on their own when driving, you may have a serious problem with your hands.
There is a myriad of reasons why your headlights may be flickering on and off. It could be that your bulbs are worn out, or their connection is bad.
Either way, just to be on the safer side, it is best to replace the headlights.
- Single faulty headlight
Sometimes, only one headlight bulb could just burn out, and the mistake most car owners make is to replace that burnout bulb and leave the other.
Here’s what you may not know: think of headlights like twins who are telepathic and understand each other perfectly, they do everything together and work for hand in hand.
So when one headlight burns out, it is certain that the other would soon follow. With that being said, you might be wondering how much does it cost to replace headlights? to answer that, let us look at the different prices of Dodge car headlight bulbs by model and how to replace your Dodge car headlights.
Prices of Dodge car headlight conversions bulbs by vehicle model
| Dodge Car Type | Car Model | Application | Product | Price |
|---|---|---|---|---|
| Dodge Avenger | Dodge Avenger SE / SXT 2014 more | Chrome Factory Style Headlights with Color Halo High beam/Low beam | Oracle Lighting® | $560 – $650 |
| Dodge Avenger | Dodge Avenger SE / SXT 2013 | Replacement Headlight | Replace® | $90 – $140 |
| Dodge Avenger | Dodge Avenger 2012 | Replacement Headlight | TruParts® | $120 – $230 |
| Dodge Avenger | SE Canada Value Package / SXT / SXT Plus 2011 | Replacement Headlight | TYC® | $100 – $150 |
| Dodge Avenger | Dodge Avenger 2010 | Replacement Headlight | K-Metal® | $80 – $120 |
| Dodge Avenger | Dodge Avenger 2009 | Replacement Headlight | Sherman® | $90 – $130 |
| Dodge Avenger | Dodge Avenger 2008 | Black Factory Style Headlights | Xtune® | $150 – $190 |
| Dodge Avenger | Dodge Avenger 2007 | profile Performance Multicolor Halo Kit for Headlights | Morimoto® | $100 – $130 |
| Dodge Avenger | Dodge Avenger 2006 | XB™ Projector LED Fog Lights | Morimoto® | $100 – $200 |
Step by step to change Dodge headlights
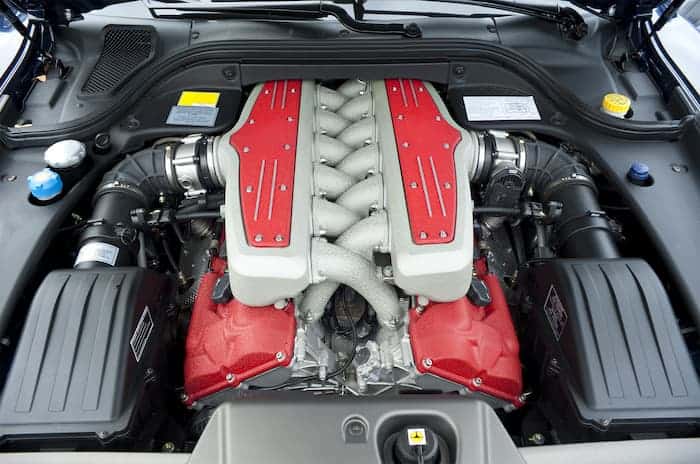
- Open the hood, you’ll find two large screws on the headlight assembly. After loosening them with a screwdriver, keep the screws safe so you do not lose them.
- Pull out the headlight assembly as carefully as you can. Ensure it comes out completely.
- You would then need to locate the electrical connector at the back of the lamp assembly and disconnect it. You would find the low beam close to the turn signal and the high beam a little farther. Now, move the bulb that needs changing clockwise and take it out of the lamp assembly.
- Now, install the new bulb by turning it clockwise and gently push it into the socket. Now, the electrical connector needs to be reconnected at this point.
- Reinstall the other parts of the car just as you’ve removed them.


