When you own a car, it’s almost inevitable that you would encounter some problems with your car headlights during its lifespan. Either you experience dim headlights which can be taken care of using a headlight restoration kit or a burnout bulb over time. But sometimes, it’s the headlight connector that could be faulty and knowing how to replace a headlight connector at that point could mean the difference between expenses and savings.
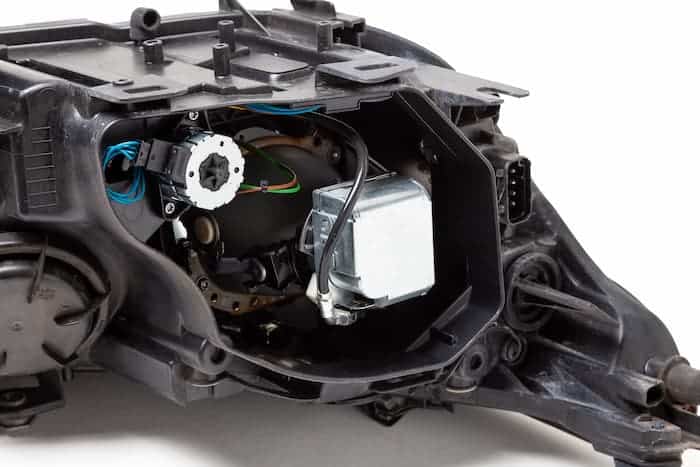
For those who don’t know, a headlight connector is a device that connects the wires to the headlight. The headlamp system can only stay linked through this device. Of course, replacing your headlight connector isn’t as simple as 1, 2, 3. So, if you wish to replace a headlight connector, you must learn how to do so properly. This guarantees that the headlight is in perfect working order. To assist you, we’ve put together this quick guide that will walk you through the steps of changing a headlight connector.
Types of headlight connector
When we consider the various headlight connectors, we generally refer to the size of the bulb or base to which the connector is connected. HB3, HB4, H1, H3, H7, and H11 are the various sizes available. The single filament bulbs come in the above sizes. Dual filament bulbs use the H4 size.
This is a significant consideration because using an incorrect size can cause your headlight connector to wear out faster than it should. So, before you learn how to change a headlight bulb connector, you should be able to know which headlight bulb fits your car.
How to replace your car headlight connector
Now that you’re aware of the different sizes available, we can continue with the steps for replacing the headlight connector. To begin, let’s have a look at some of the tools you’ll require:
- Socket wrench
- Wire connectors
- Tapes
- Splicer
We can now continue with the actual guide once you have all of these tools. The following are the steps to changing your car’s headlight connector:
- Remove the negative terminal using your socket wrench.
- Ensure you keep the terminal away from the battery to avoid current from flowing into it.
- Remove the bulb from the socket and then the socket from the headlight.
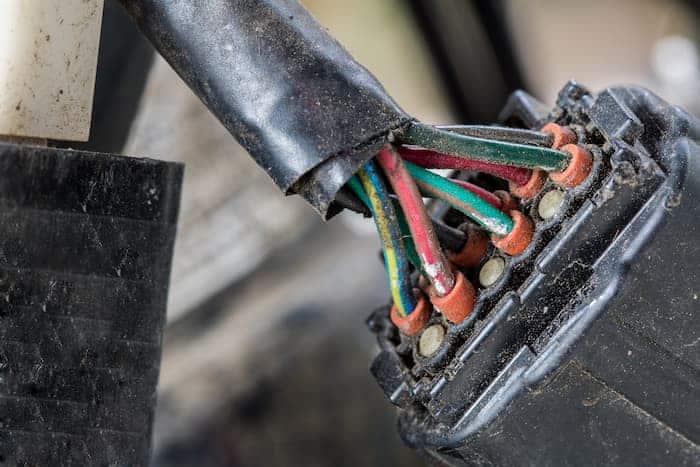
- Cut the wires 3 inches from the light fitting with your splicer.
- Cut about a quarter-inch of the wire coating.
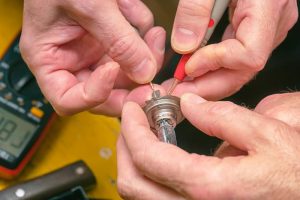
- Splice the old wires to the new connector using a splicer.
- Color-code the wires and twist them together (note the blue and red striped wires).
- Tape the wires.
- Replace the connector and the bulb.
- Replace the terminal and test the light to see if it works as it should.
While these instructions are for changing connectors, they can also remedy a loose headlamp connector. If you suspect the wire is slack, you can open it up and tighten it instead of connecting new ones by following the steps above. After you’ve tightened the wires, check to see if the lights are working properly. If they work properly yet the light output is dim or weak, check the headlight lenses to see if they are clear enough. If they aren’t, then clean your car headlight glass thoroughly.
Conclusion
You can now handle this task like an expert since you know how to replace a headlight connector and fix a damaged headlight connector. If you discover that your headlight isn’t working properly, you now know that slack wires could be the reason. Simply open up the installation, tighten all of the wires, and test the light. If it doesn’t work, you’ll have no choice but to replace the entire headlight connector. In such a situation, all you have to do is follow steps 1 through 10. It’s an effortless procedure!
Of course, before we wrap up our instruction, we’d like to underline the importance of safety. Be cautious with the wiring and make sure the terminal is not close to the battery or the wires, as this could result in an electric current still flowing. In any event, be cautious and carefully follow the instructions we’ve given above.