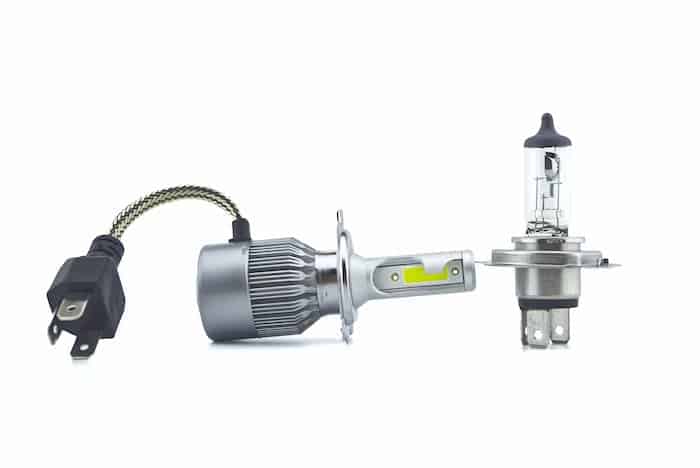
The H4 LED headlight bulb is quite prevalent on both vehicles and trucks. No matter the brand of LED headlight bulb you have or are attempting to install, the installation process is essentially the same everywhere. The three tabs around the mounting collar, which you can see, will be the same on the LED or the halogen bulb that’s mounted before because they have matching mounting collars. Do you see the tiny protection on the bulb’s front? A similar type of protection is also present in your halogen lamp. The new LED bulb’s wire will connect to your halogen bulb’s wiring.
The installation is much the same regarding how the collar mounts and everything comes together. The bulb will mount in place if you try to install it exactly how your original halogen bulb was removed, but the heat sink will be too large, and the spring clip won’t fit. Therefore, these bulbs are made such that the collar can be removed. The collar is installed first, just as the mounting on the original halogen bulb; next, the spring clip is attached, and at this point, the bulb can slide into position. Next, you must install the dust cover because everything is completely open. The mounting collar and your bulb should be sandwiched between the dust cover, which may be put back on just the way it came off. Once everything is in position, align, insert, and twist it.
Although there are a few exceptions, installing different LED headlight bulbs is generally the same. Because of the fan and the heat sink, the Morimoto 2 Stroke can be installed without detaching it from the original H4 bulb. Installation for the SV4 is the same as for the GTR Lighting bulb. The Xenon Depot Extreme LED H4 twists, and the collar pops off, so all that needs to be done is to remove the mountain collar, install it first, and then replace the bulb. Here is another example of a bulb that operates similarly.
As you can see, it makes little difference what kind of H4 bulb you have because they all function similarly. So, to make it simple, follow these tips.
Six steps to install H4 LED bulbs
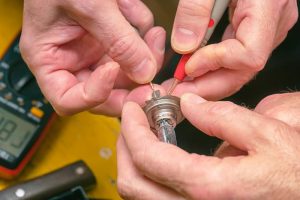
- Step 1: Unplug your stock incandescent headlight bulbs from their harnesses and remove them from your headlight housings. You may now do a preliminary test on your H4 LED headlight bulbs to ensure their optimal operation.
- Step 2: To remove the base screw on each LED bulb, use the Allen wrench. To remove the base, twist and pull.
- Step 3: Install your headlight housings with the baseless LED bulbs.
- Step 4: Insert the rubber dust caps.
- Step 5: Reattach the heatsink bases to the LED headlights using a twist lock. Don’t forget to tighten the screws you removed.
- Step 6: Connect your H4 LED headlight bulbs to the factory harnesses and tiny ballasts to complete the installation.
Lastly, restore your car’s headlight lenses using a headlight restoration kit to allow the beam emitting from your H4 LED bulbs to be bright and focused.