Adding the Headlight “Eyelids” will instantly improve the appearance of your car’s front end. You’ll be able to install this product with ease if you follow the step-by-step instructions below
Steps overview
Here’s a rundown of the basic steps involved in installing vehicle headlight eyelids:
- Glue the 3M tape in place.
- Tear a corner of the protective film away from the surface.
- Cover the headlight with the cover plate.
- Remove the protective film from the cover plate of the headlight.
- Do the same steps with the second headlight.
Let’s check out the following detailed procedure to find how to install vehicle headlight eyelids.
Temperature for installation
An “R” and a “L” will be placed on the Eyelids set. As one sits in the car facing ahead, “R” denotes the right side and “L” denotes the left side. For installation, the headlights and eyelids must be at or slightly above room temperature.
Turn on headlights, put towel over headlights, and wait until headlights are warm to the touch to obtain appropriate temperature for installation in cold weather. The temperature of both the headlamp and the eyelids must be at or slightly above room temperature for optimal adherence (60-90 degrees f). Take care not to overheat the surface or the material of the eyelids.
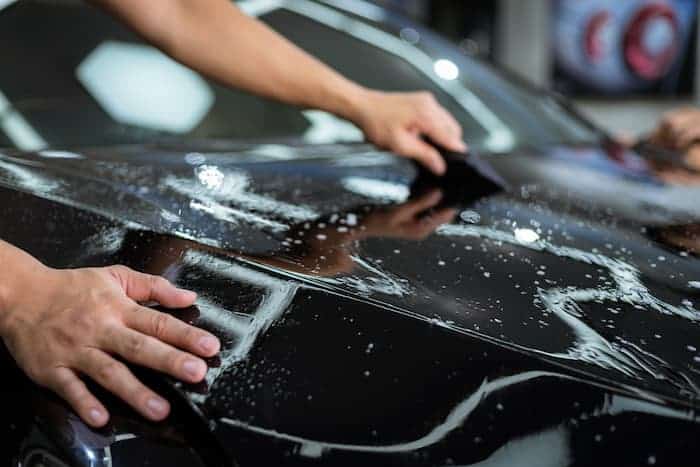
Clean the headlights properly
To remove waxes and silicones from the headlamp surface, clean the whole surface with an adhesive remover and a clean, lint-free wipe (i.e. untreated paper towel). Second, use glass cleaner to clean the headlamp surface once more (avoid cleaners that include ammonia and/or soaps). Check how to clean headlights at home.
Rub the surface with your fingertips until it feels and sounds “squeaky clean” Clean the whole surface of the headlight, including the extreme edges. The application of synthetic protectants and silicones on the substrate (e.g. Armorall, Son of a Gun, Rainex, etc.) may cause adhesion issues. As a result, specific substrate cleaning using a silicone removal agent may be necessary, perhaps on a regular basis.
A final washing with denatured alcohol and thorough drying of the surface is suggested. Clean the surface until it no longer has a slick feel to it. Always test a cleaner on an inconspicuous area to see whether it reacts with any surface finishes. Check out how to clean the headlights lenses when they become cloudy.
Pre-fitting
The Eyelids set will be delivered on a sheet. Using scissors or a utility knife, carefully clip the backing sheet around each eyelid (be careful not to cut into the eyelids). After you’ve cut it, “dry fit” the eyelids to get a sense of how it’ll look after it’s installed.
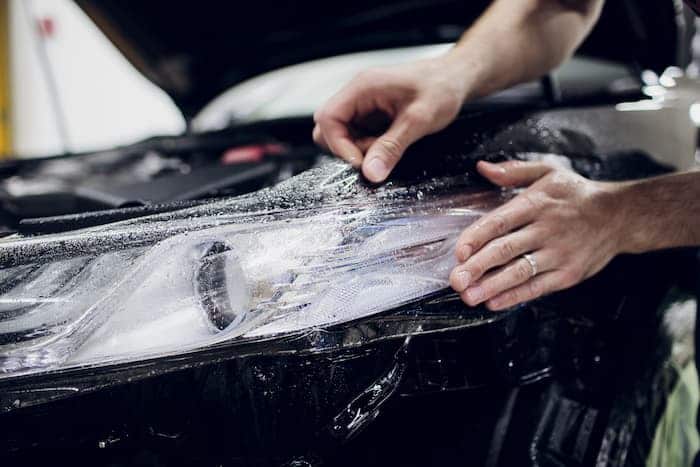
Remove the backing paper
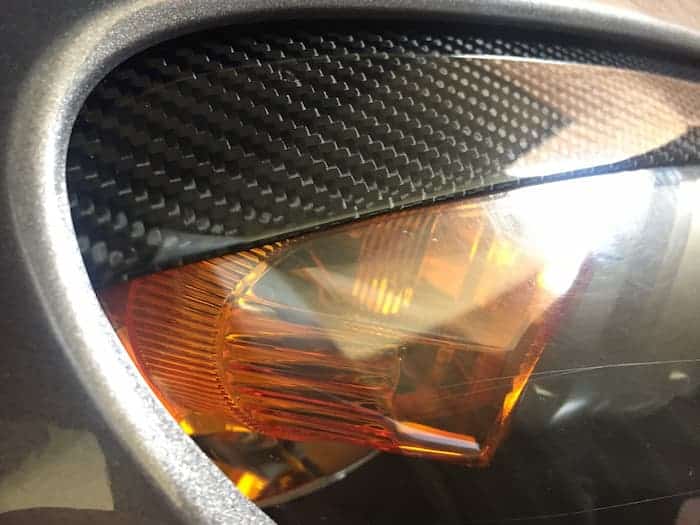
Remove the backing paper from the eyelids and carefully place the eyelids in the best possible position, allowing just the centre of the eyelids to contact the headlight surface. Simply give the eyelids a short “snap” up to remove it from the headlight surface if you need to reset them. The edges of the eyelids should be “free” after they are in the proper position onto the centre of the eyelids.
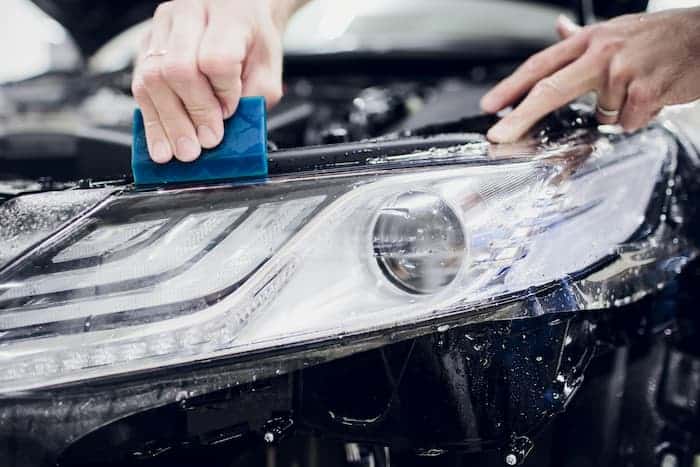
Squeeze out to the edges
Squeegee the eyelids from the centre out to the margins with strong pressure. As you get closer to the edges with the squeegee, push harder to get the eyelashes to lie flat.
Peel back the application paper
Carefully peel back the application paper after all of the eyelids have been placed. If bubbles appear, poke the vinyl with a pin and press the air out with your finger. When the lights are turned on, certain vinyl colours may seem transparent. If you want a “solid” appearance with no light coming through, we suggest using black “Eyelids” as a foundation colour before applying the colour you want.
For more information on how to change, clean and adjust the headlights, check our headlight store. I hope you’ve picked up some new information. Now is the time to leave a comment and share it with others.