While vehicle headlights are built to withstand significant changes in humidity, temperature, and vibrations, they do eventually burn out and need replacement. Headlights that have blown out may be replaced at home, even without the use of any hardware. However, do make sure to avoid these 5 common mistakes that can destroy your car. Since your headlights are so important for driving safely, it’s important you repair your blown-out headlight as soon as possible.
Removing a blown-out headlight
Step one: Open the car hood:
Since headlight bulbs can only be accessed from inside the car’s hood, you will have to open your car hood by pulling back the hood handle located below the dashboard or at the Bottom of the dashboard to pop open the hood.
Step two: Disconnect the battery terminals:
Always disconnect the battery before beginning any work on your vehicle’s electrical system. Locate your vehicle’s battery and loosen the nut on the negative terminal with a hand or socket wrench. Remove the cable up and away from the terminal with the nut-free, tucking it to the side of the battery to avoid it from having contact with the terminal.
- Look for the letters “NEG” or the negative (-) symbol to find the negative terminal.
- The positive terminal will not need to be disconnected.
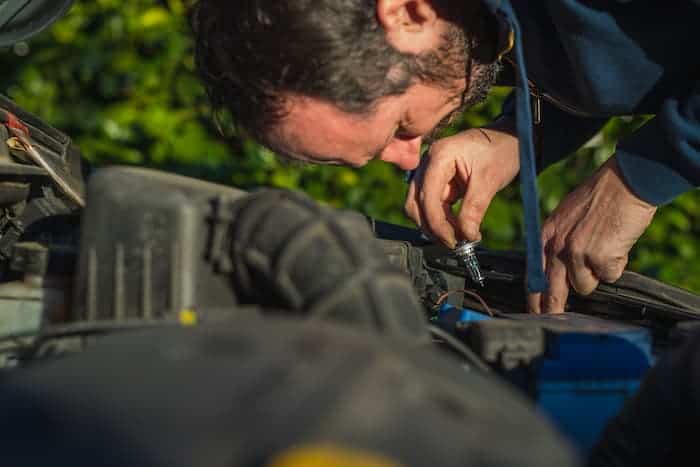
Step three: Locate the headlight housing
To gain access to the headlight bulbs, remove any trim components that are needed: In many modern cars, accessing the back of the headlight requires removing engine covers or plastic trim parts. Remove the plastic clips that keep the trim pieces in place with caution, as they may be brittle and susceptible to cracking or breaking.
- If you break one, you can typically get a new clip at your nearest auto parts shop.
- For detailed guidance on how to reach your headlight, check your vehicle’s service manual.
Step four: Remove the bad headlight bulb
Remove the pigtail from the headlight wire: On the wire pigtail going into the back of the headlight, press down on the plastic release clip. Pull the clip backwards to disconnect it and remove the headlight bulb while maintaining pressure on the release.
- If you pull on the wiring, you could unintentionally pull it out of the pigtail. Check your headlights relays to see if you have a bad headlight relay as that can cause the lights to dim.
- Check for damage on the inside of the pigtail. There might be a fault with your car’s electrical system if there are signs of burning or melting.
Installing a new headlight bulb
Step one: Buy a replacement bulb:
Some major retail or car parts stores offer replacement headlight bulbs. Here is how to know which headlight bulb fits your vehicle. Also, you can simply provide the clerk at the autoparts store with the vehicle’s year, make, and model to obtain the best fit.
- To ensure that both headlight bulbs have the same amount of brightness, you will want to replace them at the same time.
- The bulb part number can also be found on the automaker’s website.
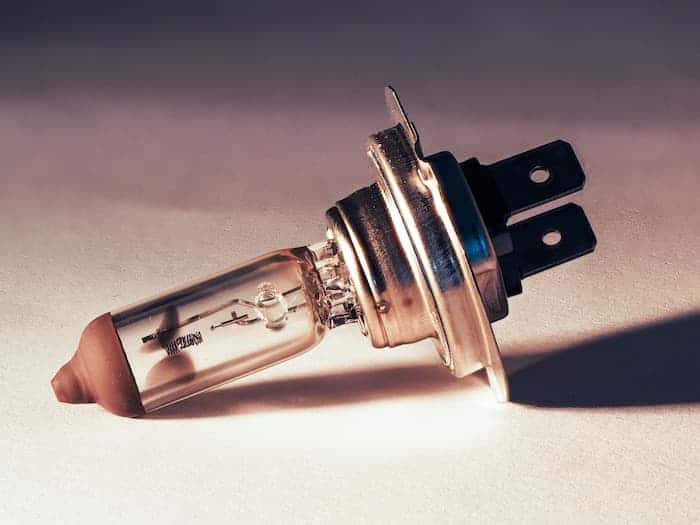
Step two: Unwrap the new headlight bulb for installation
Without touching the bulb, remove it from the box. Since the oil on your hands will harm the bulb in most modern headlights, it’s important not to touch the bulb’s glass with your fingers when you remove it from the box. If at all necessary, keep the bulb by the base.
- Gloves can also help to shield the bulb.
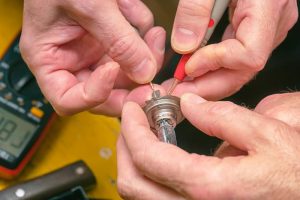
Step three: Wiping the bulb if you mistakenly touched it
Rubbing alcohol should be used to clean the bulb. If you inadvertently hit the headlight bulb’s glass, soak a rag in rubbing alcohol and wipe the bulb down. This will extract the oils from your skin while also extending the bulb’s life.
- After cleaning the bulb, make sure to wipe it dry.
- Using the rag to hold the bulb will keep you from hitting it again.
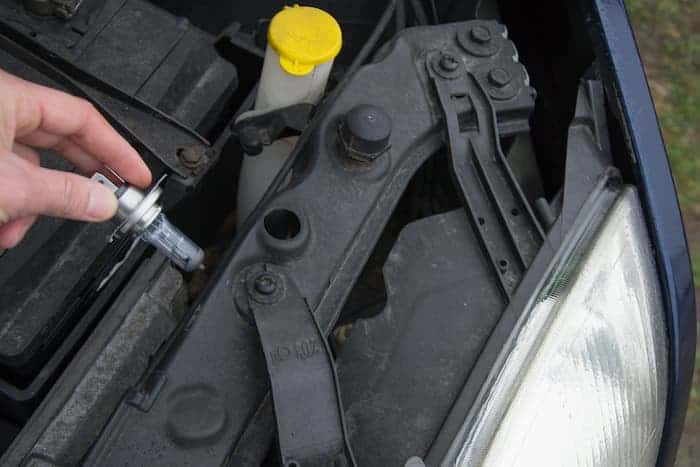
Step four: Installing the new headlight bulb
While there are different types of headlight housing, ensure you position the bulb firmly in the housing: If the bulb is fitted with a plastic assembly, slip it into the headlight housing before installing the bulb and assembly. To lock the bulb into place inside the headlight housing, turn it clockwise.
- To keep the bulb in place, you need to turn it a quarter turn.
- When you insert the bulb, be careful not to bang it against something.
Step five: Connect the pigtail for the headlight cable
Attach the wire pigtail to the bulb’s backside. Make sure it seats equally. You’ll hear an audible click as the plastic releases latch into place when the pigtail is attached correctly.
- Until reconnecting the pigtail, clean it with an electrical part cleaner.
- An electrical cleaner is sold at most electronics and car parts shops.
Step six: Replace and trim part you removed
Return any trim components you had to remove to get to the new bulb once it’s in place. Since some pieces can overlap, reassemble them in the reverse order in which they were removed.
- Reconnect the battery and check that the new headlights work.
- If you’re removing both lamps, repeat the procedure on the other side.
Replacing sealed beam style headlights

If you are using a sealed headlight beam, replacing your car’s headlight bulbs may look a bit tasking as the entire headlight housing is sealed. To get you started here are top 5 sealed headlights replacement hacks.
Step one: The trim around the headlamp should be removed:
In older model vehicles, sealed beam headlights were popular. These headlights are fully self-contained and range in diameter from three to five inches. Start by removing parts of the vehicle’s exterior trim around the headlights, as these headlights must be removed.
- Depending on the application, you do not need to remove any trim components.
Step two: Remove parts of the grill
If required, remove parts of the grill: To access the headlight screws and connections on some vehicles, you’ll need to remove all or portions of the grill. To decide which parts of the grill, if any, you’ll need to cut, consult your vehicle’s service manual.
- The grill is usually fixed with bolts along the top and a set of clips if you need to remove it.
- You need to get the screws holding the headlight in place. Remove something that would prevent you from reaching them.
Step three: Remove the ring that keeps the light in place by unscrewing it:
A metal or plastic ring that is fixed with several screws or bolts is widely used to hold sealed beam type headlights in place. Remove each of these fasteners with the appropriate hand tool (screwdriver or wrench) and set them aside somewhere safe.
- You’ll need to reuse the fasteners, so don’t throw them away.
- Be sure to repair any bolts or screws that are badly rusted or damaged.
Step four: Disconnect the wiring by a pushing the headlight out toward you:
Remove the ring from the headlight and take it out of the front of the vehicle with your thumbs and forefingers. Disconnect the wiring that runs into the back of the headlight until it has been slid out.
- Depending on the car, you might need to squeeze a wire pigtail with plastic releases to unlock it.
- Examine the disconnected wiring for any signs of injury. If you notice you also have an oxidized headlight, you can restore it using a headlight restoration kit.
Step five: Slide the new light into place after connecting it:
Remove the new light from the package and connect it to the loose wiring from the old light. Slide the headlight into the position where the old one sat and hold it in that position until you can replace the ring that secures it.
- Spray the wiring connectors with an electrical cleaner if they are dirty.
- An electrical cleaner is available at your nearest car parts or electronics shop.
Step Six: Return the ring to its original location with a screwdriver.
Replace the metal or plastic ring over the headlight and protect it with the fasteners you saved. If you can’t find some of the adjustment screws, replace the headlight adjustment screws, return any trim or grill parts you removed once you’re done and ensure the headlights are properly aligned to avoid dazzling other road users.
- To test the headlight, start the engine.
- Check to see if the wiring is wired correctly and free of damage if the headlight does not work.