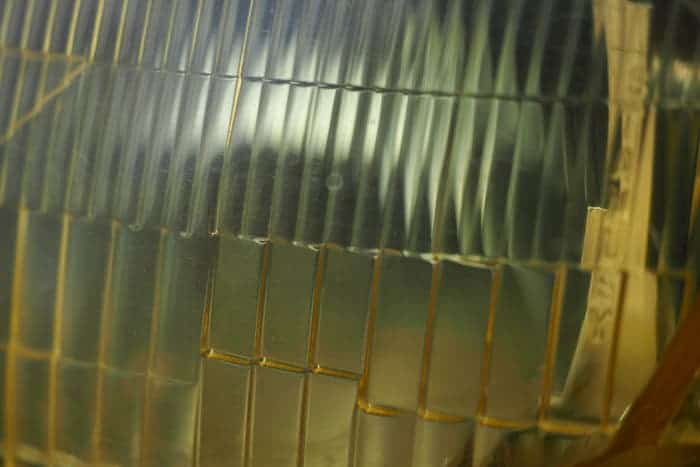
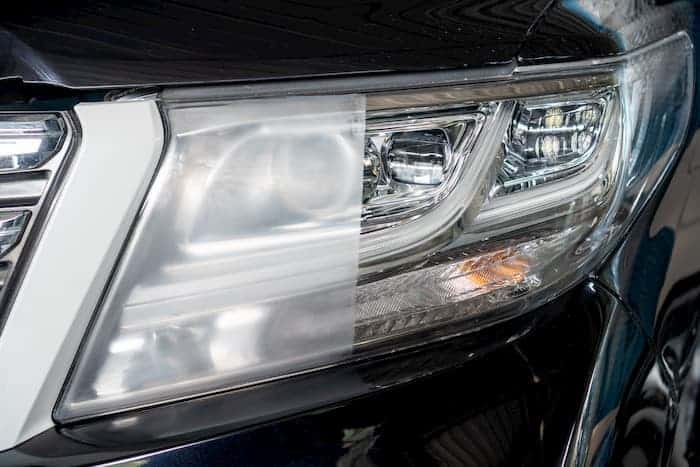
Headlights are essential items to keep the car safe. Such intense beams not only allow you to track the lane, but they also let other vehicles notice you. The unique polycarbonate plastic manufactures the headlights, and the manufacturers also polish them with compelling UV protected films. However, the headlights of your car are continually exposed to the conditions of the area, so it’s no wonder that they may appear rusty over time, and maybe have a foggy, hazy and yellowish appearance. The concern here is the yellow appearance precisely and why it occurs? This not only affects the visibility of your vehicle, but it can also affect the capacity of your headlight to illuminate the lane ahead of you.
This means that if you also travel at night, it’s a health and life threat too. Every day, the headlights of the car are vulnerable to varying weather patterns, UV rays, and more. It’s only reasonable that those plastic lenses tend to fad, regardless of how much you wash your car. It’s a definite idea that the industry provides a wide range of headlight replacement packages, enabling the headlights to look once again brand new. This initiative may be considered as the best way to clean yellow headlights. Just like almost any aspect of the car that is offered today, some headlight restoration kits are more straightforward to use than another just like our Headlight Restorer Wipes.
Why you should avoid using household materials
Each headlight lens has a few options to clean. Another is to have a thorough cleaning that can be expensive so that it will prevent possible dangers, including plastic scraping. When you are just searching for a car wax or buffing, a professional cleaner may be the right choice. You have just to take a rest, that way. Another choice is to use household products such as soap and water, vinegar, Windex, toothpaste, rubbing alcohol, and grit sandpaper to scrub yourself without first drying with a wet cotton towel. We cannot have a good cleaning, although these are inexpensive alternatives, and sandpapers can potentially cause scrapes.
Homemade or car parts shop remedies could also contain toxic chemicals that would potentially do more damage in the long run, and not to mention this path allows you to invest a lot of time and effort in your headlight restoration work.
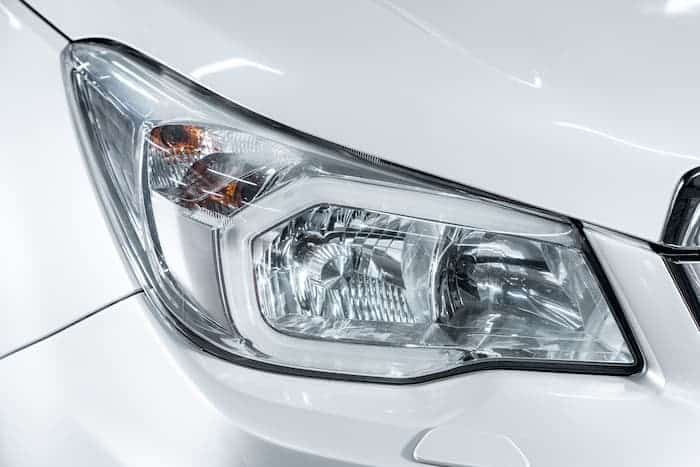
The headlight of a vehicle is one of the finest and visible parts that immediately strikes the person to guess whether it is new or not.
There is a variety of headlight restoration kits in the market nowadays, as the majority of the people are very conscious about their beloved vehicles and want them to look perfect. But then again, the confusion remains constant that which brand or material a person should buy for his vehicle. In this regard, we have prepared a quick chart so you can easily contemplate the better one; in terms of the price, application, and results.
Headlight restoration kit pros, cons, pricing and application time
| Brands | Price | Pros | Cons | Application Time |
|---|---|---|---|---|
| HeadlightRestore.US | $14.99 |
|
|
3 min |
|
3M Headlight Lens Restoration System-39008 |
$17.52 |
|
|
30 min. |
| Rust-Oleum Wipe | $9.88 |
|
|
15 min. |
|
Turtle Wax T-240 KT Headlight Lens Restorer Kit |
$10.45 |
|
|
5 min. |
|
Meguiar’s G2000 Perfect clarity two-step restoration kit |
$14.99 |
|
|
3 min. |
All the compared brands and kits and have their pros and cons, and the market is full of restoration kits and wipes. However, the price difference is also very minor. There are many different headlight restoration kits in the market, offering you different benefits but almost have the same application process in general.
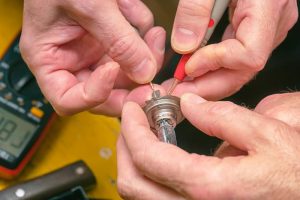
How to use headlight restoration kits
It is often advisable to follow the guidelines of the manufacturer when it comes to repairing your headlights, particularly because individual kits need a different method than others. Below you can find some necessary measures so you can get an overview of what restoration of headlights is all about.
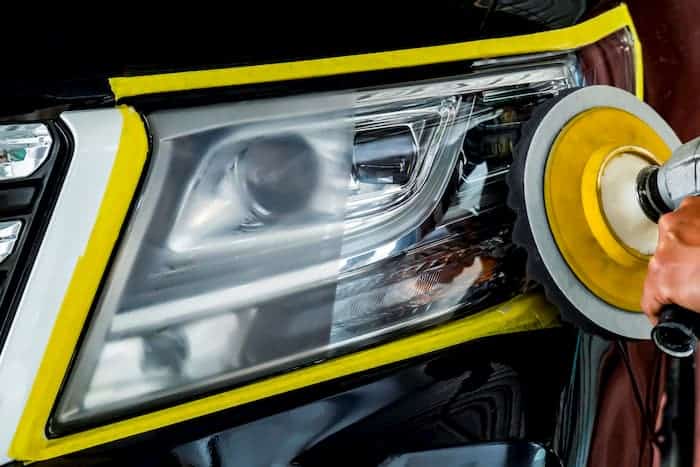
- Begin by cleaning the headlights of your car, making sure the plastic lenses are washed away clean of debris, dust, and sludge.
- You’ll need to use the painter’s tape to shield the area around your headlights and cover the exterior color, depending on the brand you ‘re using.
- Most kits come with a prescription for pre-treatment or a cleaning agent which can be used
- To ensure that the lenses are cleaned.
- Some kits may need sandpaper to dust down the headlight lenses slightly. This move can vary depending on the brand you are using, so please see the guidance. Even then, usually, you’ll need assorted grit sandpapers to keep all the smoke and oxidization off your headlights.
- After completion, add some sort of sealant or polishing agent to your headlights to shield them from potential hazing or oxidation for the mentioned time.
Our brand
The technique is the same for all, but our brand HEADLIGHTRESTORE.US provides you 3 step kit, which is very convenient to use and gives you the most effective and efficient results in just 3 minutes. It will also provide you long-lasting shine, and the price is also worth investing for. If you purchase the kit directly from the website, it will provide you some fantastic discounts as well, so visit the website now.
While driving at night, fading headlights will significantly limit your visibility, making it essential to keep this aspect of your vehicle in tip-top condition. When your headlights start looking blurry and dull, then it is time to fix them. Headlight restorer kits are happily making this a simple DIY job. It’s better to go for a bit expensive but a long-lasting product rather than cheap and harmful products like household materials. The lenses of the headlights are designed with a special plastic that needs a proper kit and materials to clean. So think and pick wisely.