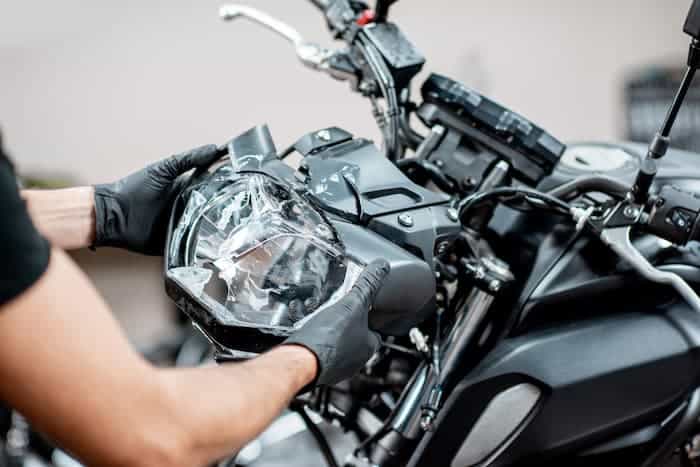
A motorcycle’s headlight adjustment is crucial since poor sight at night can mean the difference between a safe ride and colliding with an object or another vehicle. Headlight adjustment might differ between life and death when riding a motorbike at night because moving vehicles and animals can result in fatal crashes. Fortunately, manufacturers make adjusting a motorcycle headlight for the best visibility effortless.
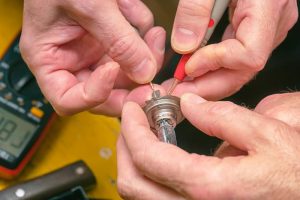
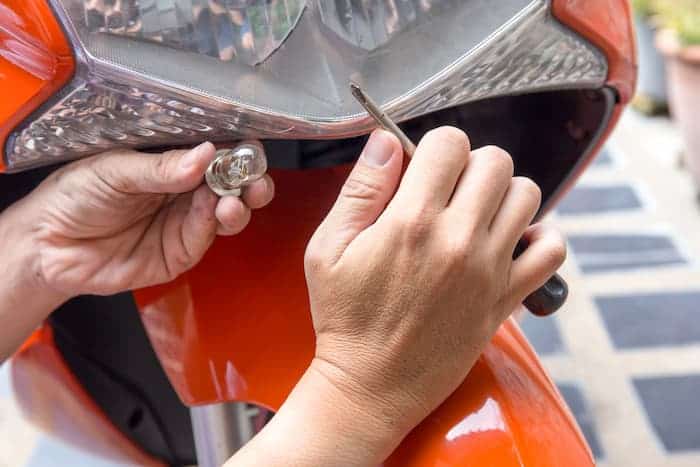
The headlight of a motorcycle must be adjusted correctly to protect the rider. A motorcycle’s headlight is frequently the sole available light source when traveling at night. The rider won’t be able to see the road ahead well enough to control the motorcycle safely if the headlight is pointed incorrectly. Headlamp adjustment screws may become loose or break due to vibration over time, which will cause the headlight to move into an inoperable position. When necessary, changes or repairs should be made immediately after routinely checking the alignment of the headlights. A headlamp adjustment only needs a few simple tools and a working understanding of mechanics.
Best way to adjust a motorcycle headlight
Total time: 1 hour
Step 1 – Consult your service manual for the correct adjustment process for your motorcycle’s make and model.

While some headlights have screws as adjustments, others have knobs. While some adjusters are hidden and hard to reach, others are open and accessible with long screwdrivers. Whatever steps your manual specifies, thoroughly study and comprehend them before adjusting your headlight. To make a proper adjustment at night, when the headlight beam can be seen when shone at a distant surface, identify the adjusters during the day and keep a note of their locations.
Step 2 – Find a level ground
preferably paved or concrete, next to a garage door or wall that is light in color. The ground needs to be level between the two points since you need to make your adjustment 25 feet away from the wall or entrance. Mark the location with a piece of masking tape when it is 25 feet from the wall. As you adjust, you will put your front wheel on the mark made by the masking tape.
Step 3 – Measure the distance
From the ground to the center of your headlamp, measure the distance. Make a pencil mark the same height as your headlight measurement on the wall or garage door. Draw a straight line over your pencil mark with a carpenter’s level, and then place a piece of masking tape with its top edge aligned with the line. This will guide you while adjusting the high beam on your headlight. Two inches lower, make another mark. Next, match the top edge of a piece of masking tape with the second line you drew, which should be straight and level. This serves as your low-beam reference.
Step 4 – Direction of the light
Sit on the motorcycle while holding it straight, the headlight facing forward, and the front tire resting on the mark you made with the masking tape. The lower piece of masking tape should match up with the upper cut-off line of the low beam. The upper piece of masking tape and the high beam should line up. Turn the adjusters as directed in your service manual until the beams are precisely centered and shining on their marks if they don’t line up dead center on the masking tape lines.
Step 5 – Test Headlight
Ride your motorcycle carefully, especially when crossing train tracks, hilly roads, or any other surface that could jiggle your headlight out of alignment. Return the motorcycle to the point where you adjusted the headlight, place the front wheel on the mark made by the masking tape, and test the light once more. You’re OK to go if the light is still directly in the center. If the light has somewhat moved, refocus the beam, test it once more, and repeat if necessary. If the light has shifted noticeably, you might have an adjuster that has to be fixed because it is malfunctioning or broken. However, if the lights are dimmed, and you want to restore their brightness, you can purchase a headlight restoration kit.
Supply:
- Masking tape
Tools:
- Screwdriver